 35 minutes
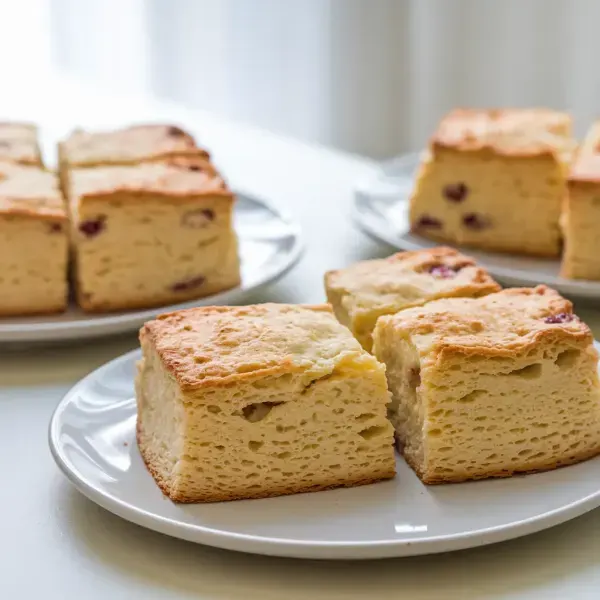
Delicious and tender scones made with sour cream and your choice of fruit, perfect for breakfast or an afternoon treat.


cups
cups
tablespoons
teaspoons
Unsalted Butter, cold
0.25 sticks
Frozen Fruit
cups
cups
cups
Large egg, beaten
each
1. Preheat Oven and Prepare Baking Sheet
Begin by preheating your oven to 400 degrees Fahrenheit, and position the rack in the upper third of the oven. Line a baking sheet with parchment paper to ensure your scones don't stick and are easy to remove.
2. Mix Dry Ingredients
In a large bowl, whisk together the all-purpose flour, granulated sugar, baking powder, and kosher salt. This blend of dry ingredients will form the foundation of your scones, ensuring they rise beautifully and have just the right sweetness.
3. Add Butter
Using a box grater, grate the cold unsalted butter directly into the dry ingredients. Toss the butter through the flour mixture with your fingers, working it in until it resembles coarse crumbs. Grated butter is the secret to a flaky texture as it evenly distributes throughout the dough.
4. Add Fruit
Now, gently toss in your choice of frozen fruit—cherries, peaches, or berries—into the mixture. The fruit will add a burst of flavor and delightful pockets of juiciness in every bite.
5. Mix Wet Ingredients and Combine
In a separate small bowl, whisk together the sour cream (or full-fat Greek yogurt) and milk. This combination adds moisture and richness to the dough, ensuring a tender crumb in your finished scones.
6. Form Dough
Pour the sour cream mixture into the bowl with the dry ingredients and fruit. Using a fork, mix everything together until the dough begins to hold together. Then, turn out the dough onto a lightly floured work surface and knead it gently. The key is to handle the dough as little as possible to keep it tender.
7. Shape and Cut Scones
Shape the dough into a round about 1 inch thick, then cut it into 8 equal squares. This shape not only makes for easy cutting but also means no dough is wasted in re-rolling.
8. Prepare for Baking
Arrange the scone squares on your prepared baking sheet, giving them a little space to expand as they bake.
9. Egg Wash
Brush the tops of the scones with the beaten egg. This will give them a lovely golden sheen and help the tops to crisp up slightly as they bake.
10. Bake and Cool
Slide the baking sheet into the hot oven and bake for 18-22 minutes, or until the scones are golden brown. Once done, transfer them to a cooling rack to cool down enough to handle. There's nothing quite like a warm scone to make your day.
Freshness matters for leavening agents, and high-quality unsalted butter and ripe, seasonal fruit are crucial for flavor.
Freshness matters, especially for your leavening agent. Ensure your baking powder is fresh as it greatly impacts the rise and texture. Opt for high-quality unsalted butter. It controls the salt content and improves flavor richness. Choose ripe, seasonal fruit for the best flavor and natural sweetness.
The key to flaky scones is cold butter. Consider freezing your butter for a few minutes before cutting it into cubes or grating it for easy incorporation. Keep your sour cream chilled until the last moment of incorporation. This ensures your dough remains cool, preventing premature butter melting.
Use cold butter and keep sour cream chilled to prevent premature melting, ensuring a flaky texture.
When incorporating the wet ingredients into the dry, use a light hand. Overmixing can develop gluten, leading to tough scones. Mix just until the dough comes together. If using berries or other delicate fruit, fold them in gently to avoid breaking them and making the dough soggy.


Comments (0)