 102 minutes
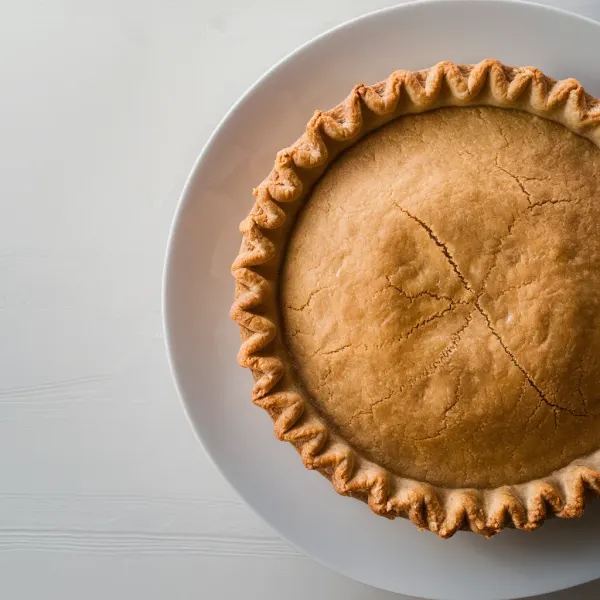
A simple and detailed method to create a crispy single-crust pie foundation, perfect for any pie recipe.
Pie Dough, enough to line a 9-inch pie plate
0 oz
Aluminum Foil
0 oz
Pie Weights, ceramic or metal
0 oz
Pennies
0 oz
1. Trim and Tuck Dough
First, trim the pie dough so it hangs about half an inch over the lip of the pie plate. Tuck this overhang underneath itself to create a thick edge that will support your crust. This step ensures the dough sits securely on the lip of the pie plate, giving you a strong base to work with.
2. Fluted or Ridged Edge
For a decorative edge, use your index finger and thumb to create fluted ridges along the edge of the dough. Alternatively, press the tines of a fork into the dough to flatten it against the rim, creating a ridged edge.
3. Chill the Crust
Wrap the dough-lined pie plate in plastic wrap and place it in the freezer for 30 minutes. Chilling the dough firms it up and prevents shrinking during baking, ensuring your crust holds its shape.
4. Line with Foil
Once the dough is fully chilled, place a double layer of aluminum foil over the crust, making sure to cover the edges. This step protects the edges from burning and helps the crust bake evenly.
5. Weight and Bake
Fill the foil-lined crust with pie weights or pennies. This will prevent the crust from puffing up and ensure it cooks evenly. Place the pie plate in a preheated oven at 375°F and bake for 25 to 30 minutes until the crust is lightly colored.
6. Remove Foil and Weights
Carefully remove the foil and weights from the crust. If you are partially baking the crust, transfer it to a wire rack to cool. If you need a fully baked crust, return it to the oven for an additional 10 to 12 minutes until it is lightly browned and firm to the touch.
Let the dough rest wrapped in the fridge for at least an hour to relax the gluten and ensure the fat is firm, which helps prevent shrinkage and maintains flakiness.
Mix just until the dough comes together to avoid developing too much gluten, which can make the crust tough.
For wet fillings, bake the crust first with weights until edges start to turn golden, then without weights until the bottom is crisp.
Ensuring your butter or shortening is very cold helps to create a flaky crust. Chilling your flour and bowl can further prevent fat from melting during preparation.
Chilling the dough in the pie pan for about 30 minutes before baking helps maintain its shape.


Comments (0)