 80 minutes
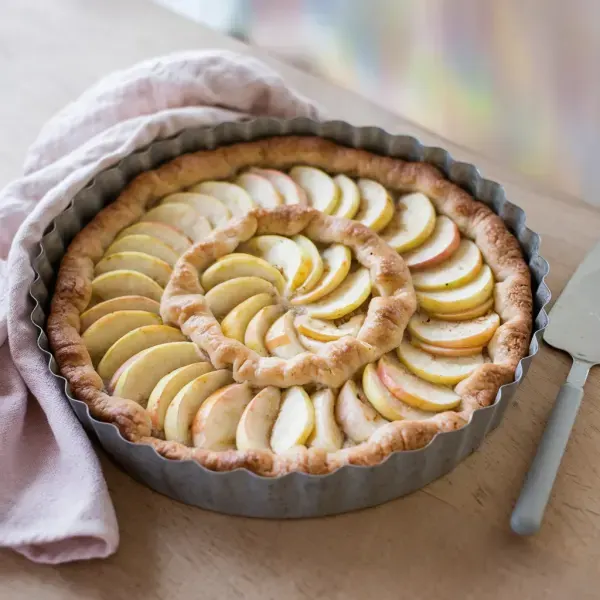
A delightful rustic dessert featuring tender apples nestled in a flaky, buttery crust.
Sierra Beauty Apples, peeled, cored, and sliced ¼ inch thick
0 lb
Pippin Apples, peeled, cored, and sliced ¼ inch thick
0 lb
Granny Smith Apples, peeled, cored, and sliced ¼ inch thick
0 lb
Tart And Pie Dough, rolled out into a 14-inch circle
0 oz
Unsalted Butter, melted
tablespoons
tablespoons
tablespoons
1. Preheat the Oven
Start by preheating your oven to 400°F. This ensures the oven is at the right temperature when your galette is ready to bake, which helps achieve a crisp, golden crust.
2. Prepare the Apples
While the oven is heating up, prepare the apples. Peel, core, and slice them into ¼ inch thick slices. This thickness will allow the apples to cook evenly and absorb the buttery, sugary goodness.
3. Roll Out the Dough
Roll out your 10-ounce disk of Tart and Pie Dough into a 14-inch circle on a piece of parchment paper. Once rolled out, transfer the dough on the parchment paper to a baking sheet and chill it in the refrigerator for about 10 minutes. Chilling the dough helps it hold its shape and makes it easier to handle.
4. Arrange the Apples
After chilling, arrange the apple slices on the dough. Start from the outer edge, placing the slices end to end in a circle, leaving a 1½-inch border. Fill the center with overlapping concentric circles until the apples are arranged about 1½ layers thick. This careful arrangement ensures that the apples cook evenly and the galette looks beautiful.
5. Fold the Dough Edges
Fold the edges of the dough over the apples, creating a rustic edge that partially covers the fruit. This folded edge will help contain the juices from the apples as they cook, preventing them from spilling out.
6. Brush with Butter and Sprinkle Sugar
Generously brush the folded dough with the melted butter, and then pat the tops of the apples with the remaining butter. This not only adds flavor but also helps the sugar stick to the surface.
7. Sprinkle Sugar
Sprinkle 2 tablespoons of sugar over the crust for a sweet, caramelized finish, and then sprinkle 2 to 3 tablespoons of sugar over the apples to enhance their natural sweetness.
8. Bake the Galette
Place the baking sheet on the bottom rack of the oven and bake the galette for 45 to 55 minutes, or until the crust is golden brown on the bottom. Baking on the bottom rack ensures that the crust bakes evenly and becomes beautifully crisp.
9. Cool and Serve
Once the galette is done, slide it off the baking sheet and onto a cooling rack. Let it cool for a bit before serving, allowing the juices to settle and the flavors to meld.
Select apples that hold their shape and offer a balance of sweet and tart, like Honeycrisp, Granny Smith, or Braeburn. Mixing apple types can enhance flavor complexity.
Keep ingredients cold, handle dough minimally, and rest the dough in the refrigerator before rolling to ensure a flaky crust.
Bake until apples are tender and crust is golden brown. Use a pizza stone or baking steel for a crisp bottom crust.
Allow the galette to cool on a wire rack before serving to let the juices set and keep the crust crisp.
Enhance flavor with cinnamon, nutmeg, a pinch of salt, and lemon juice to prevent browning and add brightness.


Comments (0)