 395 minutes
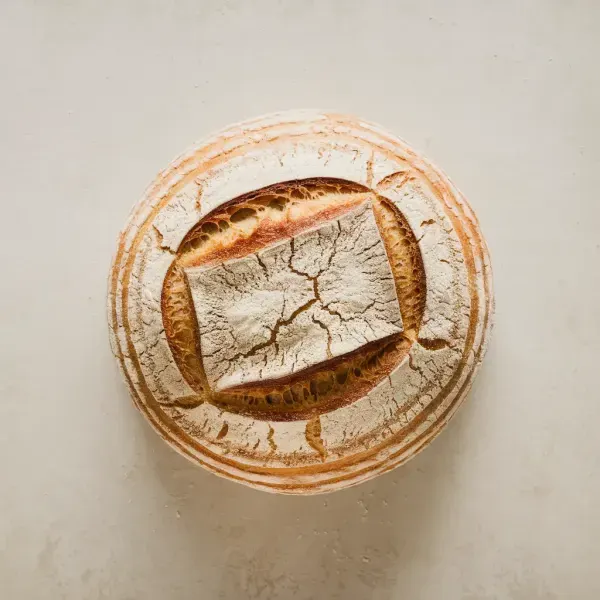
A beautifully rustic homemade white bread with a dark brown crust and airy texture, perfect for any meal.


cups
Water, room-temperature
cups
teaspoons
Instant Yeast
teaspoons
Active Dry Yeast, dissolved in 50 grams warm water
teaspoons
Fresh Yeast
teaspoons
Neutral Oil, for greasing
teaspoons
1. Combine Flour and Water
Begin by combining the 1000 grams of flour with the 700 grams of water (650 grams if using active dry yeast) in a stand mixer equipped with a dough hook or in a large mixing bowl using a dough spatula. Mix until the dough forms a uniform consistency, ensuring that the flour is fully hydrated. The dough should appear slightly sticky.
2. Rest Dough
Cover the dough with a kitchen towel or plastic wrap and let it rest for 15 minutes to 1 hour. This resting period allows the flour to absorb the water fully, making it easier to handle and knead later on.
3. Add Salt and Yeast
Once the dough has rested, add the 22 grams of salt and the yeast (4 grams of instant yeast, 5 grams of active dry yeast dissolved in 50 grams of warm water, or 10 grams of fresh yeast). Mix until the dough is smooth and cohesive. This step ensures that the yeast and salt are evenly distributed throughout the dough.
4. Knead Dough
Knead the dough for 3-5 minutes, either at medium-high speed in the stand mixer or by hand. This process helps develop the gluten, giving the dough its necessary elasticity. The dough should feel elastic and bounce back slightly when indented.
5. First Rise
Transfer the dough to a large bowl lightly greased with neutral oil, cover it with plastic wrap, and let it rise for 30 minutes. This initial rise will start the fermentation process, and you should notice the dough becoming slightly puffy.
6. Fold Dough
After the first rise, fold the dough. With wet hands or a plastic bench scraper, fold the dough by lifting one side and folding it over the center. Repeat this folding process four times, each after a quarter turn of the bowl, and one final fold after a half turn. This strengthens the dough's structure, making it tighter and smoother.
7. Second Rise
Let the dough rise again for 1 hour and 30 minutes. During this second rise, the dough should increase in volume by about half and look visibly puffier and larger.
8. Divide and Shape Dough
Once the second rise is complete, transfer the dough to a floured surface and divide it into two equal portions. Shape each portion into a ball and let them rest for 15 minutes. This rest period allows the dough to relax and makes it easier to shape.
9. Shape into Final Rounds
Shape the dough into final rounds by gently stretching and folding the edges under to form a smooth, taut surface. Let the shaped dough rest for another 5 minutes.
10. Final Proof
For the final proof, place each round into a floured cloth-lined bowl and refrigerate for 1 hour to 1 hour and 30 minutes. The dough should nearly double in size and appear visibly risen and airy.
11. Preheat Dutch Oven
Preheat your Dutch oven in the oven at 500°F (260°C) to ensure it is very hot when you start baking.
12. Bake Bread
Carefully transfer one loaf of dough to the preheated Dutch oven, score the top with a razor or paring knife, and spritz with water. Cover and bake at 500°F (260°C) for 15 minutes, then uncover, reduce the temperature to 450°F (235°C), and continue baking for another 15-20 minutes. The loaf should develop a dark brown crust and sound hollow when tapped.
13. Cool Bread
Remove the bread from the Dutch oven and cool on a wire rack for at least 1 hour. This cooling period prevents a gummy texture and ensures the loaf is fully set.
14. Repeat Baking Process
Repeat the baking process for the second loaf, reheating the Dutch oven at 500°F (260°C) for 10 minutes before baking.


Comments (0)