 85 minutes
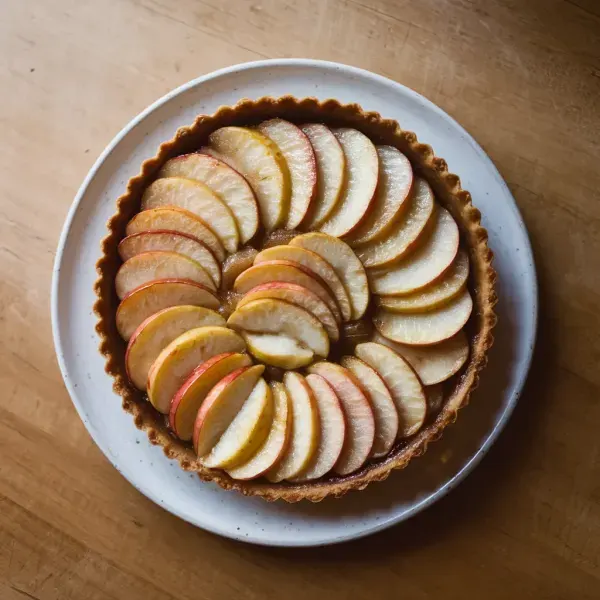
A delightful apple tart recipe that's easy to make and perfect for any occasion.
Apples, Peeled, cored, and sliced
0 lb
Tart And Pie Dough, Rolled out
0 oz
Unsalted Butter, Melted
tablespoons
Sugar For Apples, Sprinkled
tablespoons
Sugar For Crust, Sprinkled
tablespoons
1. Preheat Oven
Begin by preheating your oven to 400°F. This ensures that it's at the perfect temperature when you're ready to bake.
2. Prepare Apples
Prepare the apples by peeling, coring, and slicing them into ¼-inch thick pieces. A peeler and corer will make this task a breeze, while a sharp knife will ensure clean slices.
3. Roll Out Dough
Roll out the tart and pie dough into a 14-inch circle. Use a rolling pin on parchment paper placed over a baking sheet. Once rolled, let the dough rest in the refrigerator for about 10 minutes. This helps it maintain its shape and makes it easier to handle.
4. Arrange Apples
Now, it's time to arrange the sliced apples. Start by placing them in a circle around the edge of the dough, then continue filling in with concentric circles towards the center. Leave a 1½-inch border, ensuring the apples are about 1½ layers thick. This method allows the apples to cook evenly and gives the tart a visually appealing look.
5. Fold Dough and Brush with Butter
Fold the edge of the dough over the apples, creating a rustic crust. Melt the butter and brush it generously over the apples and exposed dough. The butter not only adds flavor but also helps the crust achieve a lovely golden brown color.
6. Sprinkle Sugar
Sprinkle sugar over the apples and the crust. Use 2 to 3 tablespoons of sugar over the apples, depending on their sweetness, and 2 tablespoons for the crust. This will enhance the natural sweetness and contribute to the tart's irresistibly caramelized finish.
7. Bake the Tart
Place the tart on the bottom rack of your preheated oven and bake for 45 to 55 minutes. Look for a golden brown crust as a sign that your tart is perfectly baked.
8. Cool and Serve
Once the tart is out of the oven, transfer it to a cooling rack. Allow it to cool completely before serving to ensure the flavors and textures are at their best.


Comments (0)